Timesheets go in as attachments, not tickets
A timesheet is the record of hours worked on a job. Upload it as an Attachment with the Timesheet category. Don’t upload it as a material ticket.Add a timesheet to a completed job
1
Open the job from History
Tap History in the bottom bar. Completed jobs are under Done. Jobs waiting on review are under In Review. Tap the job to open it.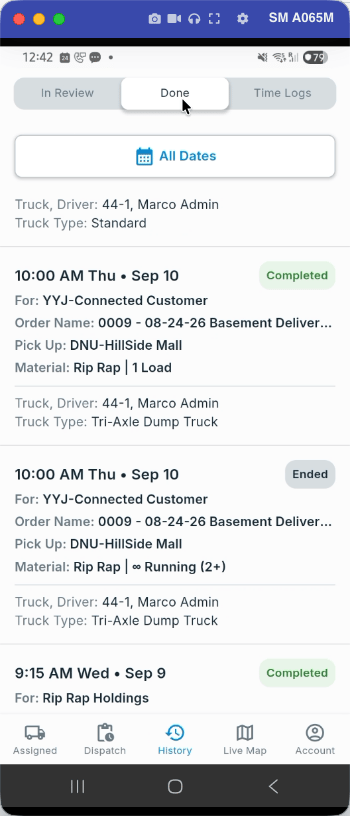
2
Check you have the right job
Job Info shows the job’s times, delivered totals, and material tickets.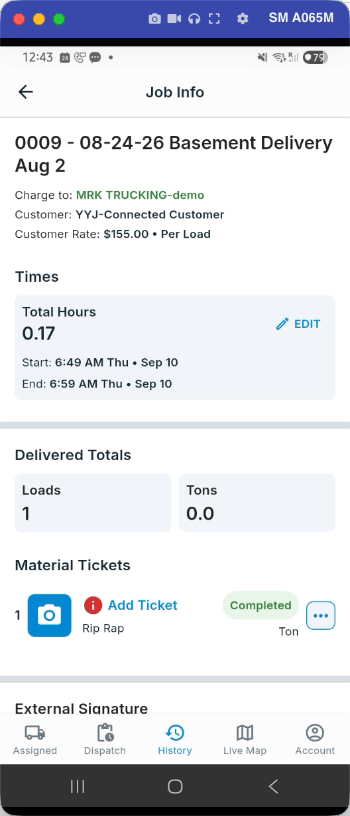
3
Scroll down and tap Add Attachment
Add Attachment is at the bottom of the Attachments section, below Material Tickets.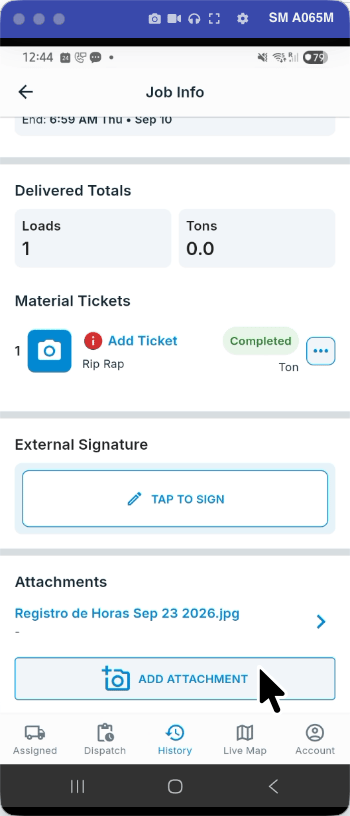
4
Take the photo
Tap Take photo to use the camera, or Choose from gallery if the photo is already on your phone. The first time, your phone asks for camera access. Tap While using the app.
5
Set Category to Timesheet
Tap Category and pick Timesheet. Category is required.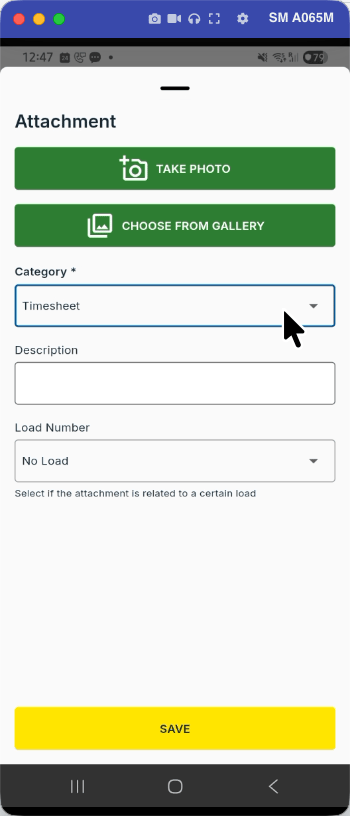
6
Leave Load Number on No Load and tap Save
A timesheet covers the whole job, so leave Load Number on No Load. Description is optional. Tap Save.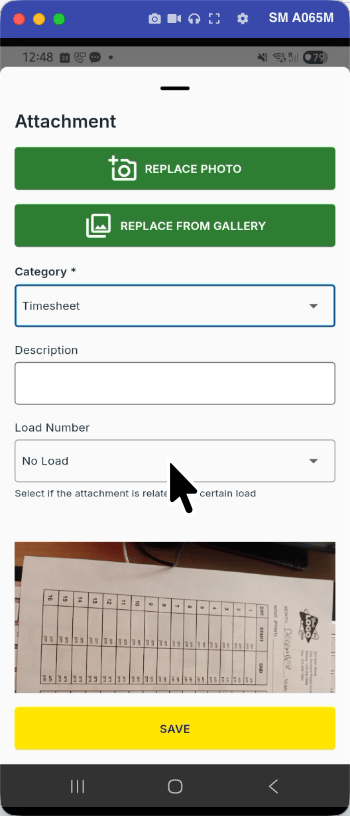
7
Confirm the upload
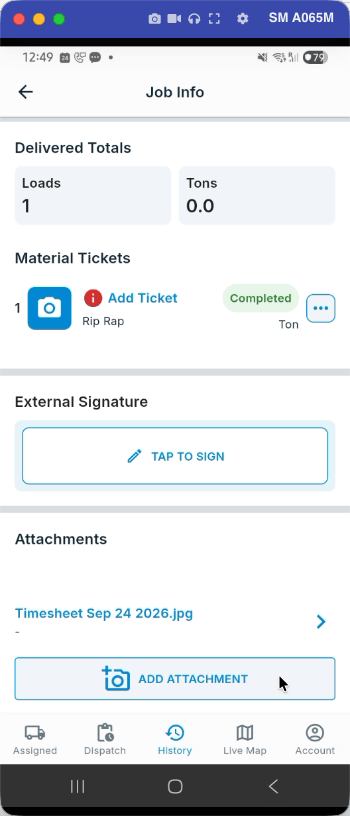
The photo now shows under Attachments, named like Timesheet Sep 23 2026.jpg.