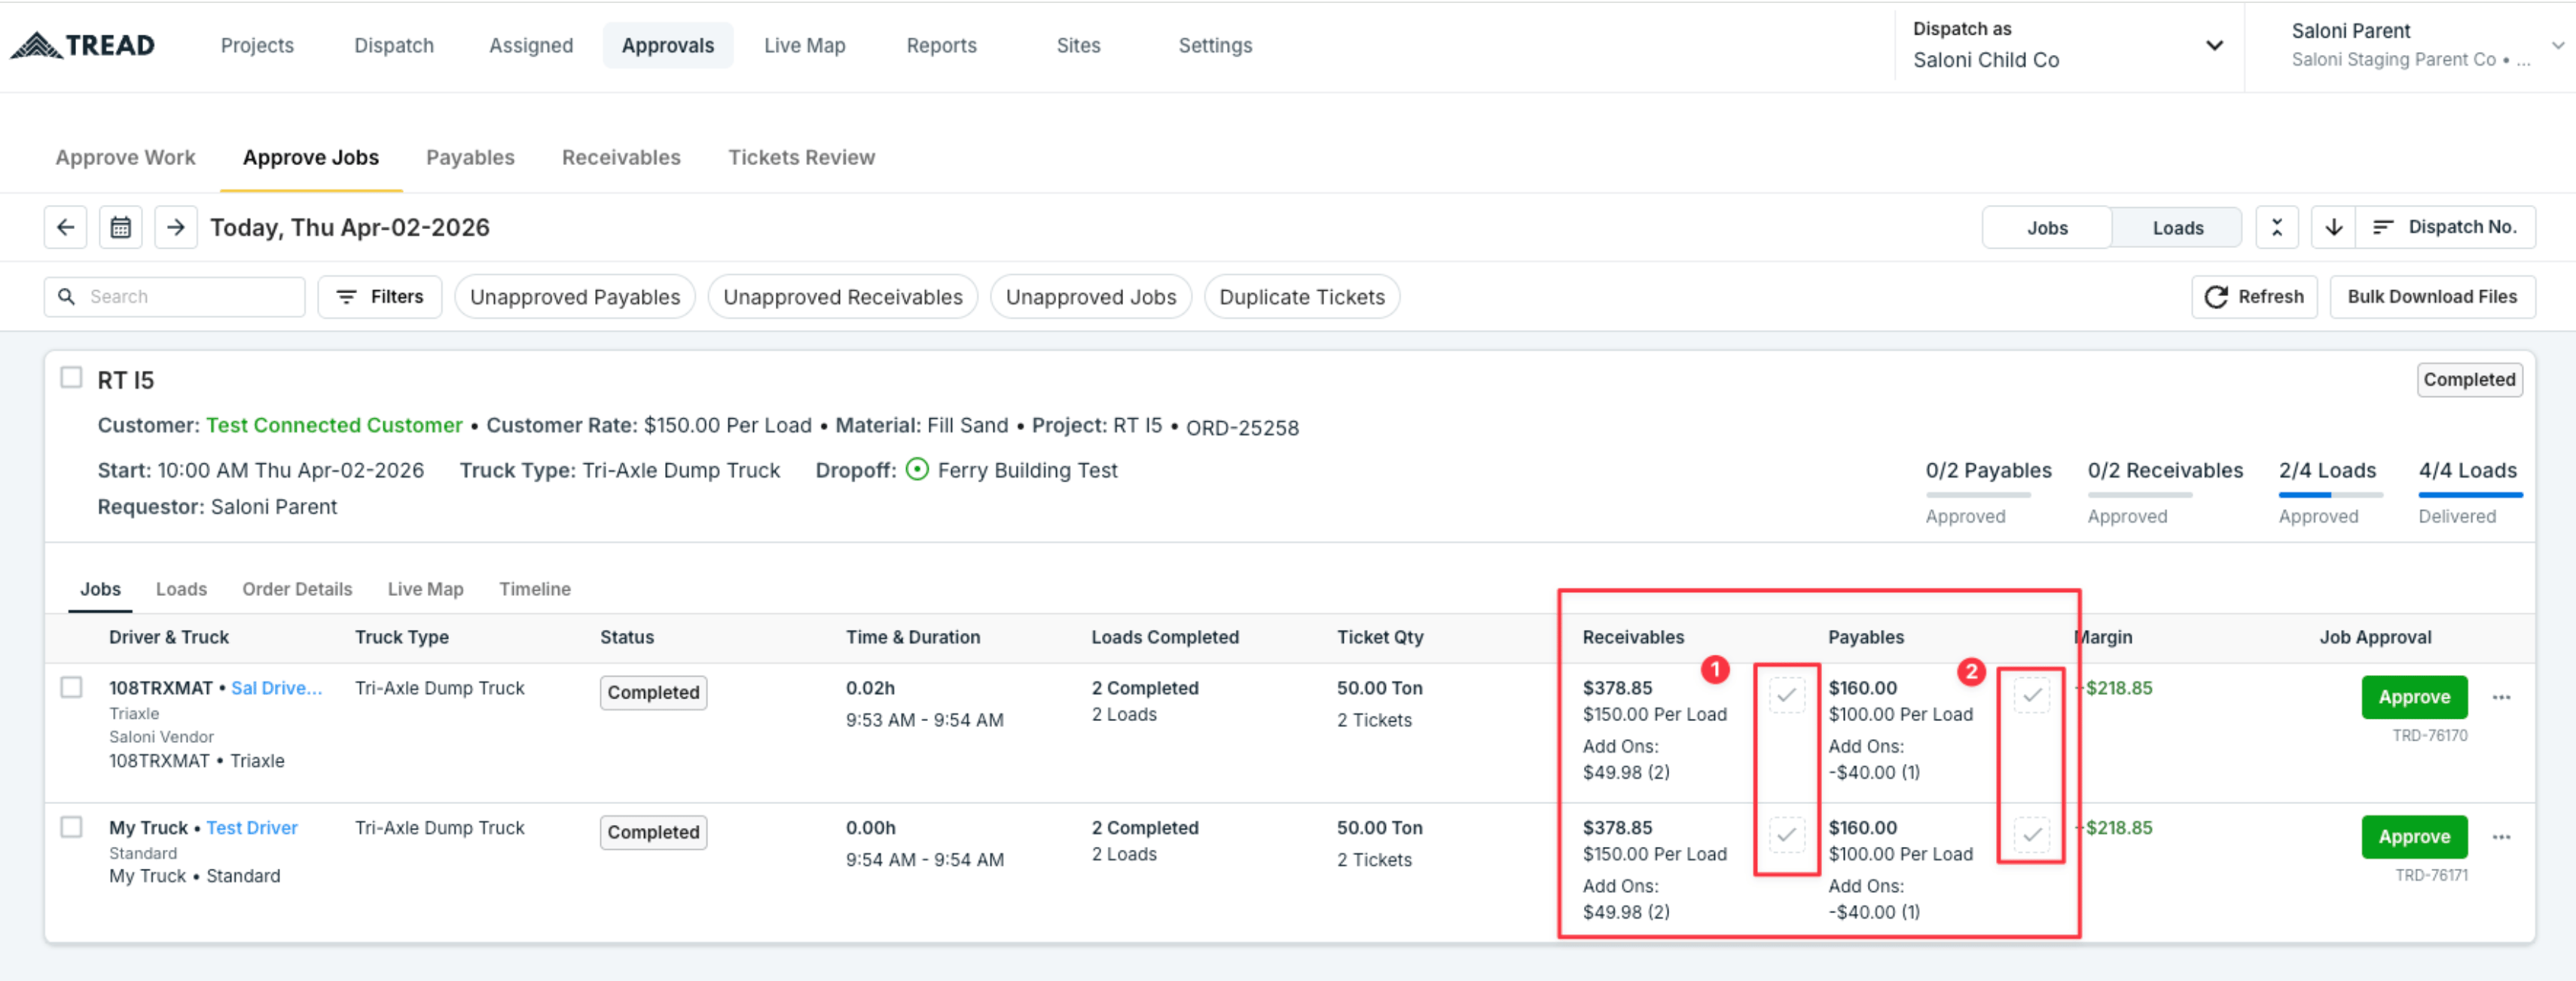
Step 1 — Navigate to the Job view
After all your approving all your dispatched work, navigate to the Job view by clicking the default tab labeled Job.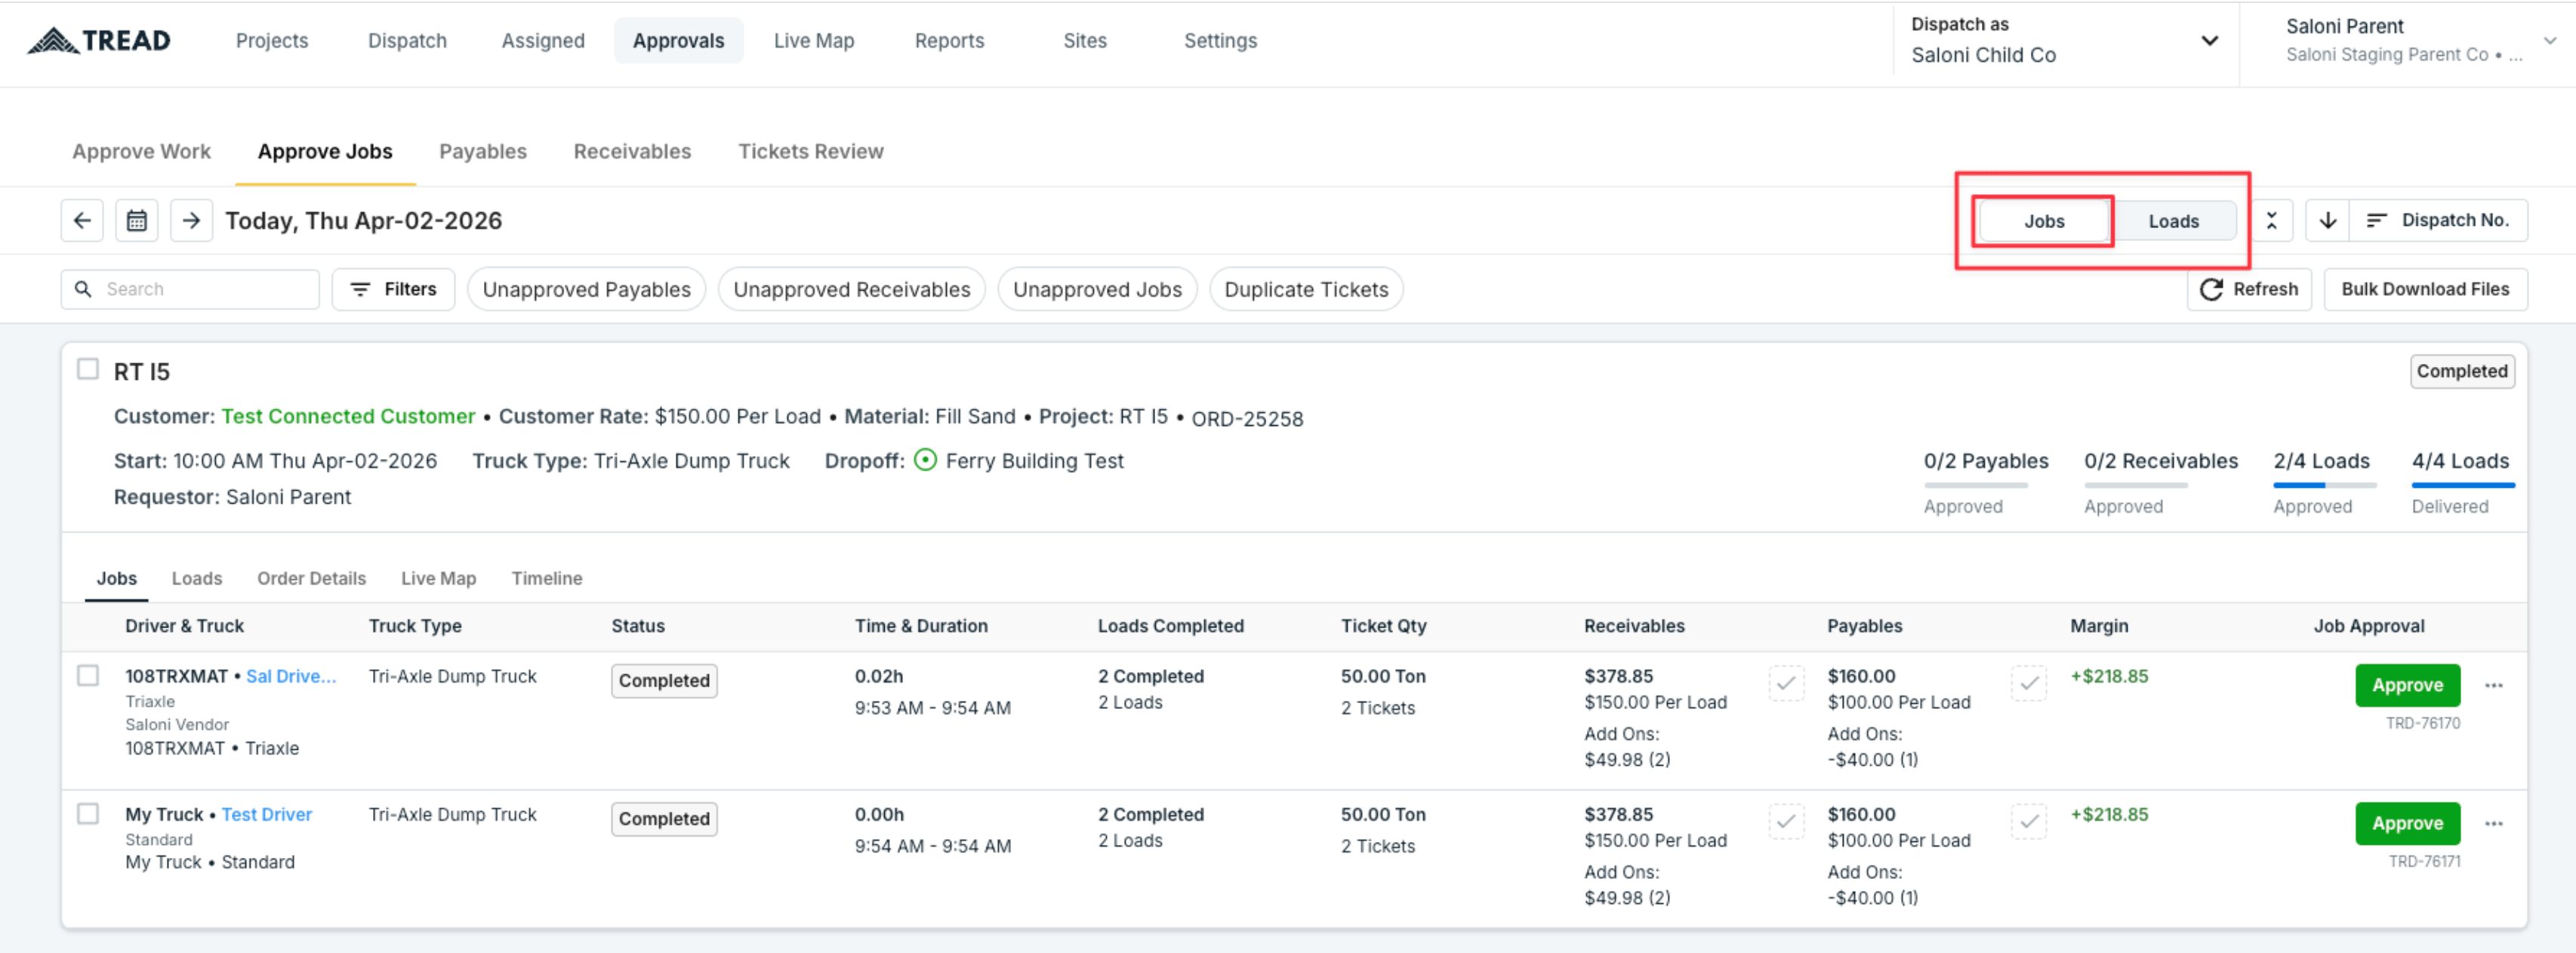
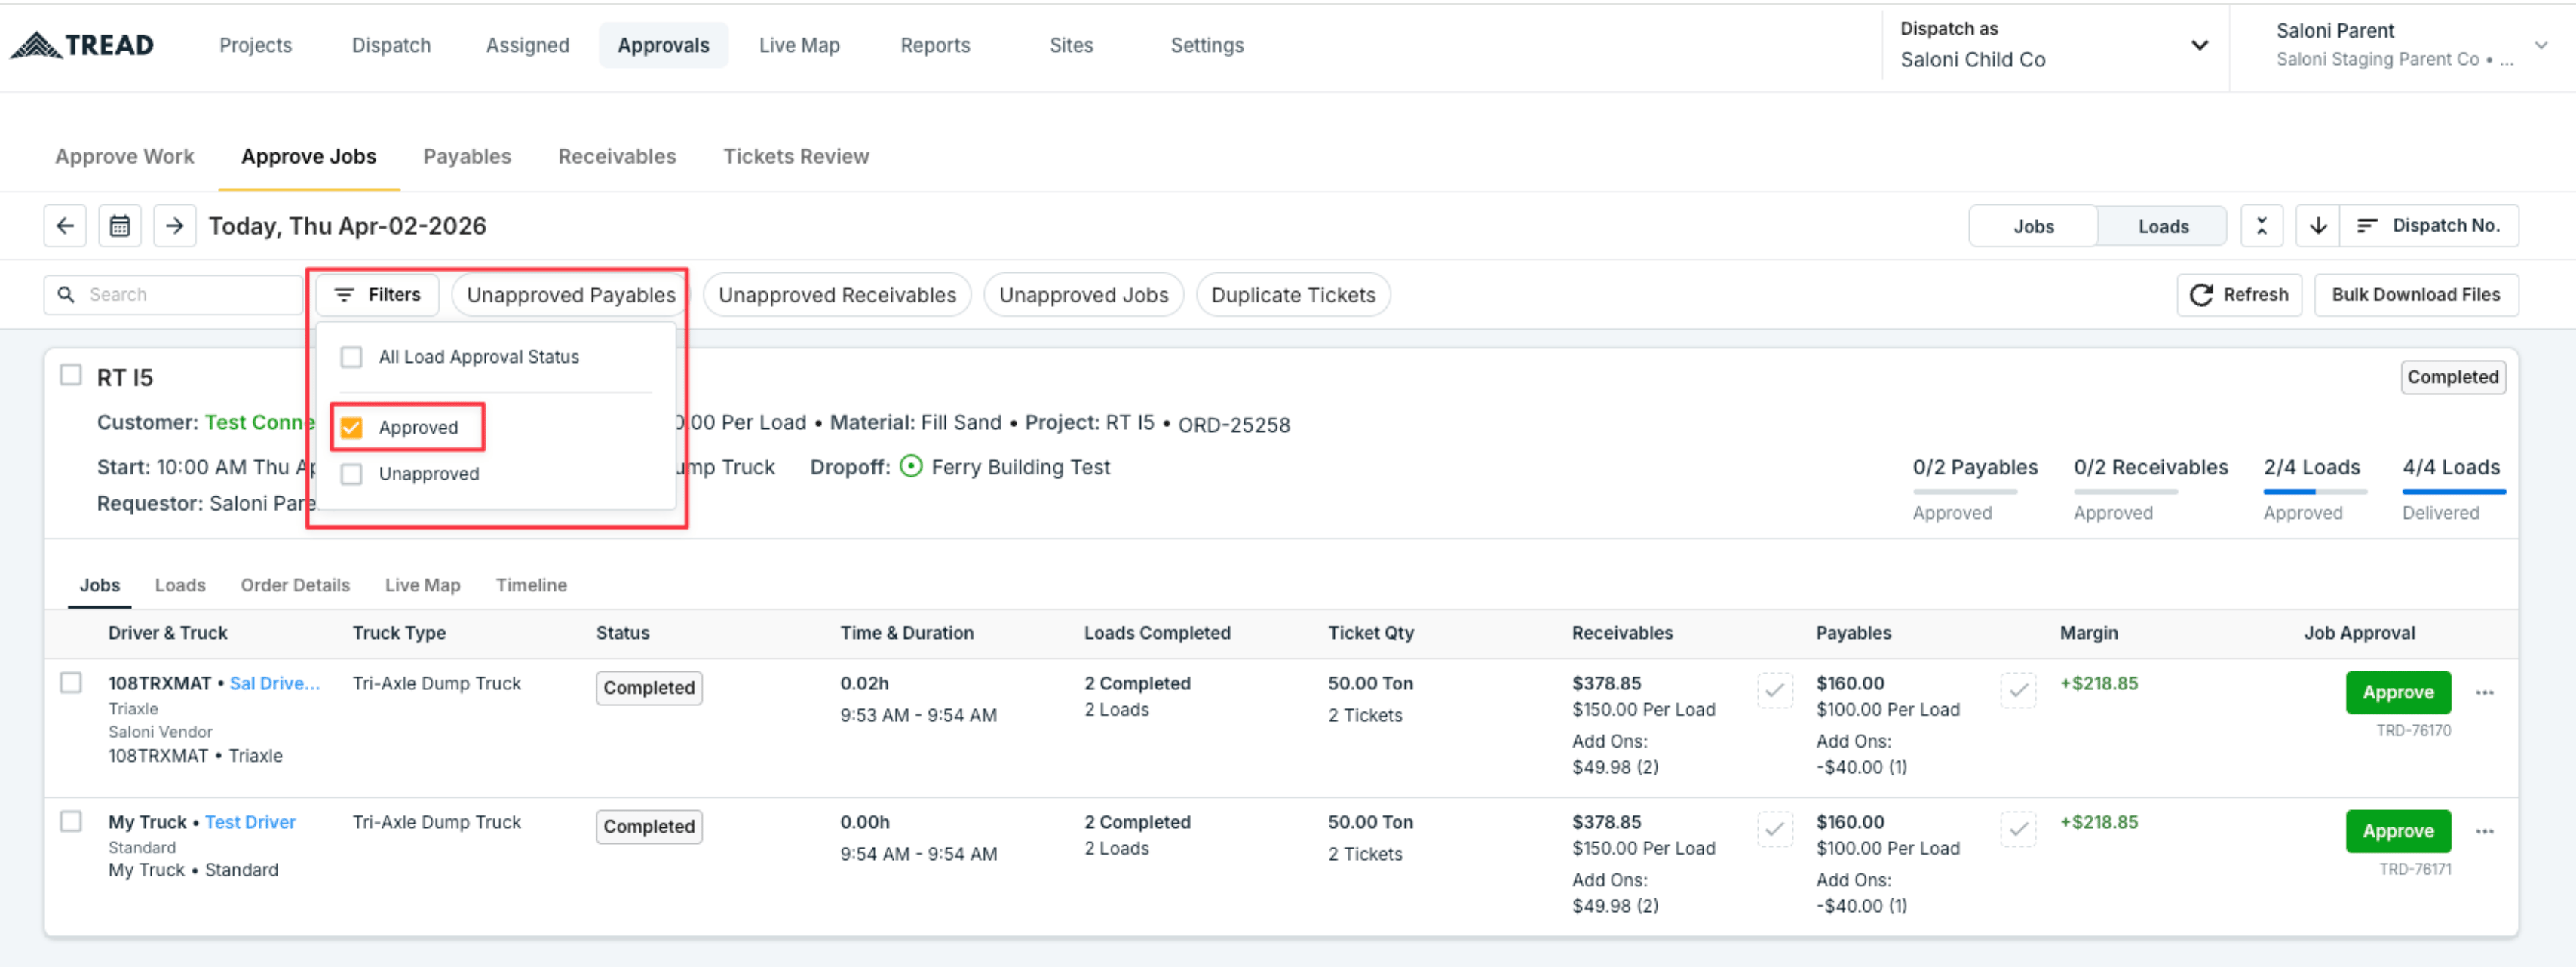
Step 2 — Filter for approved work
Depending on how you approved work in the step before, apply one of the following filters:- All Approved Loads under Load Approval Status — This displays only the jobs whose loads have been approved and are now ready for payable/receivable approval.
- All Approved Jobs under Jobs Approval Status.
Step 3 — Verify payables and receivables
Review the totals for each line item. You can also click into a truck’s dispatch and go to the Payables or Receivables tab to see line-item detail before approving. You can make any changes to the rates, quantities or add-ons directly in this view.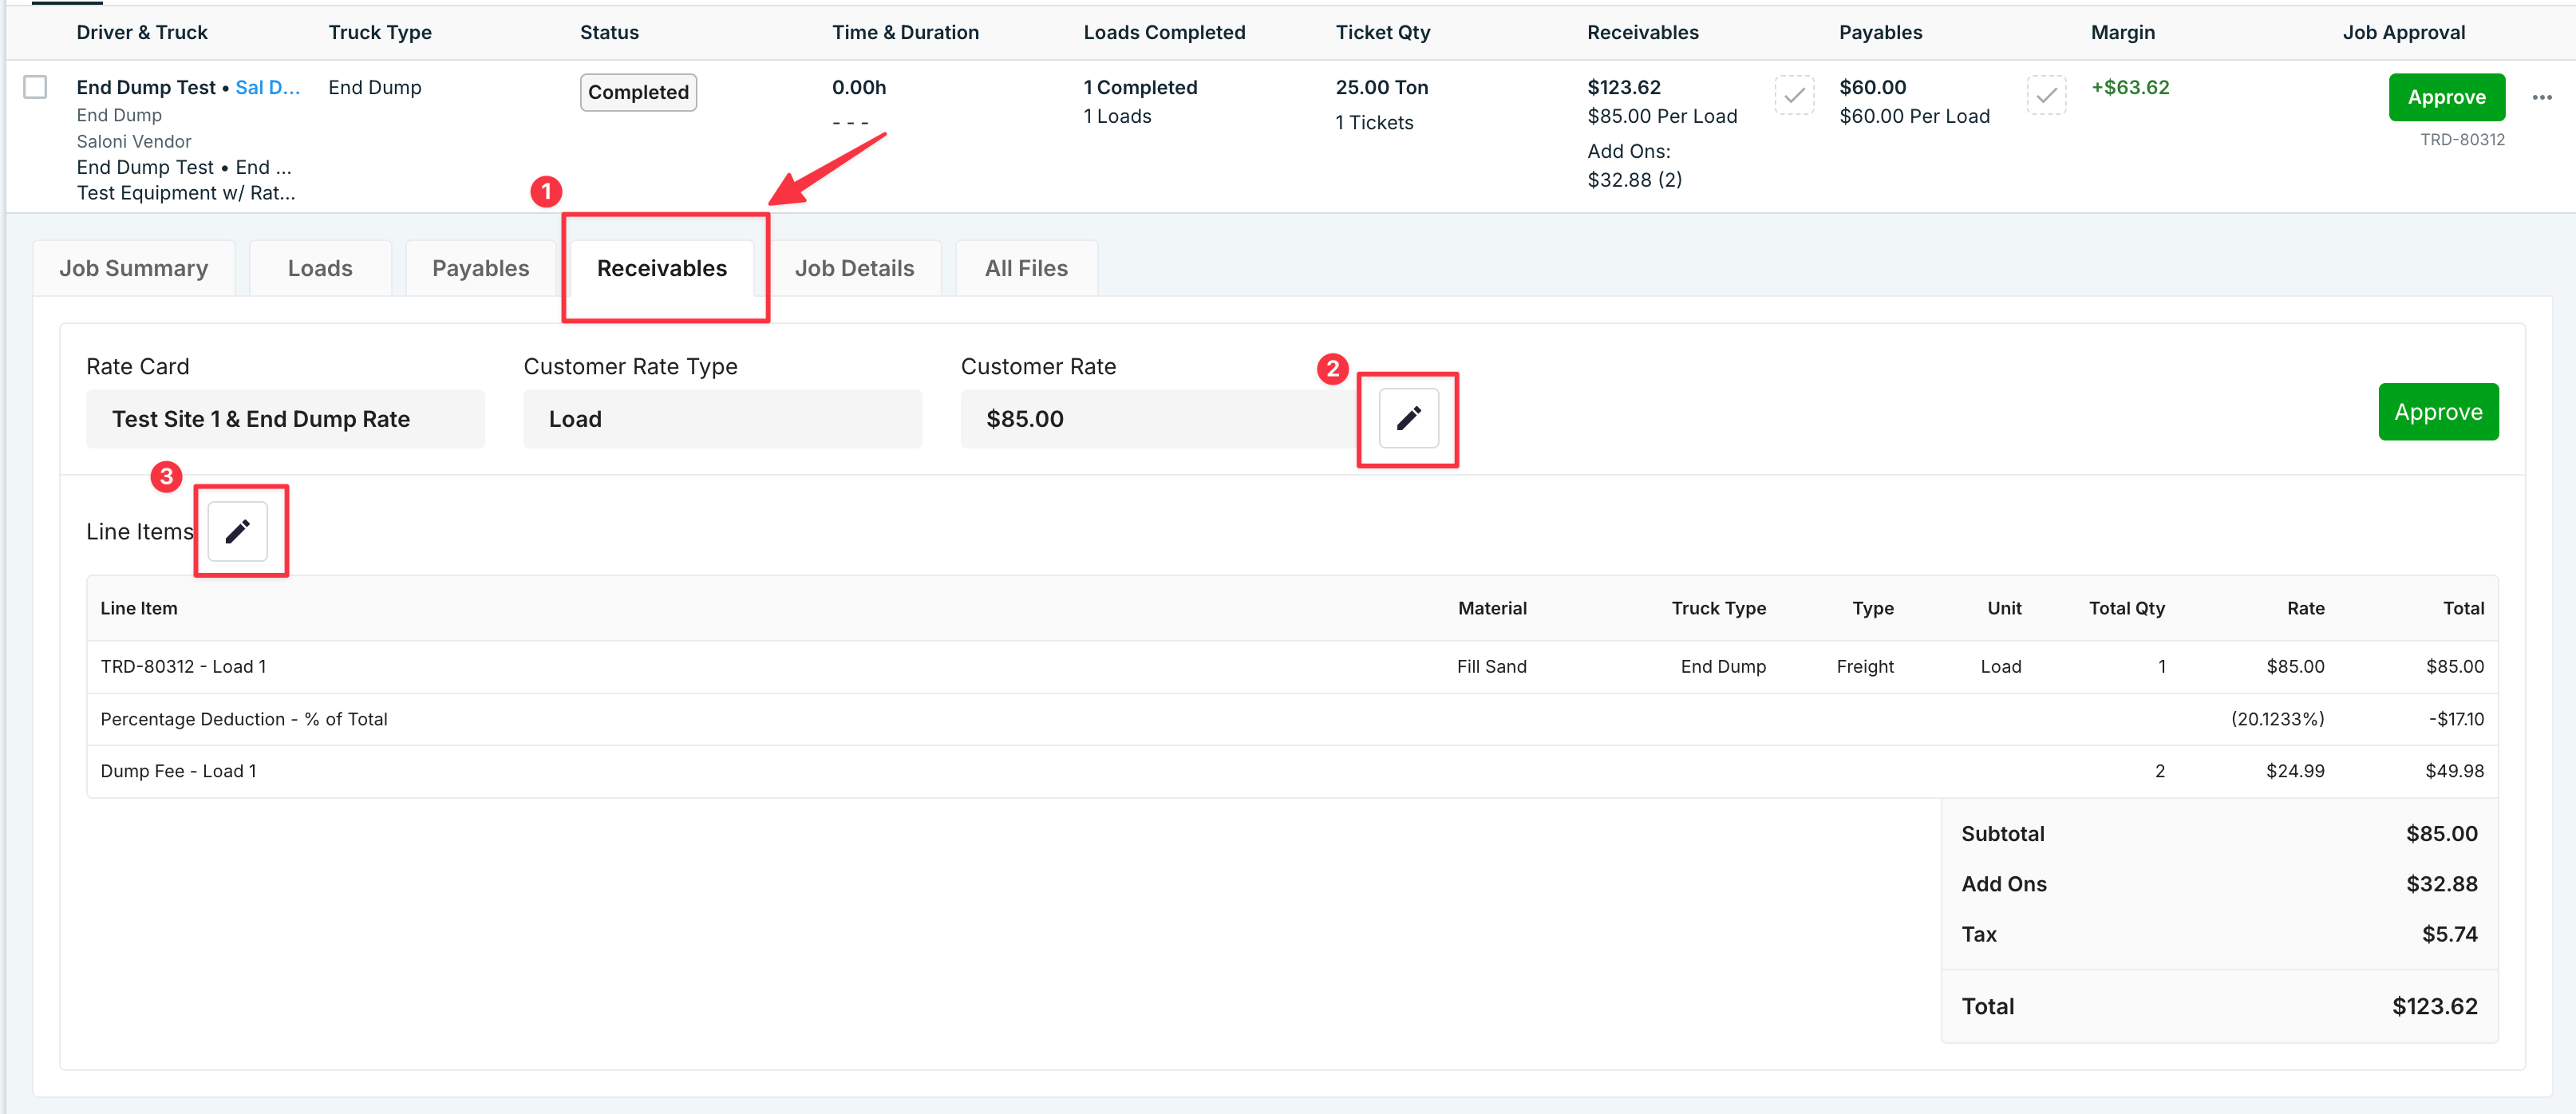
Step 4 — Approve payables and receivables invoices
If everything looks correct, click Approve on each row for both payables and receivables either via the approval column or on the tab view.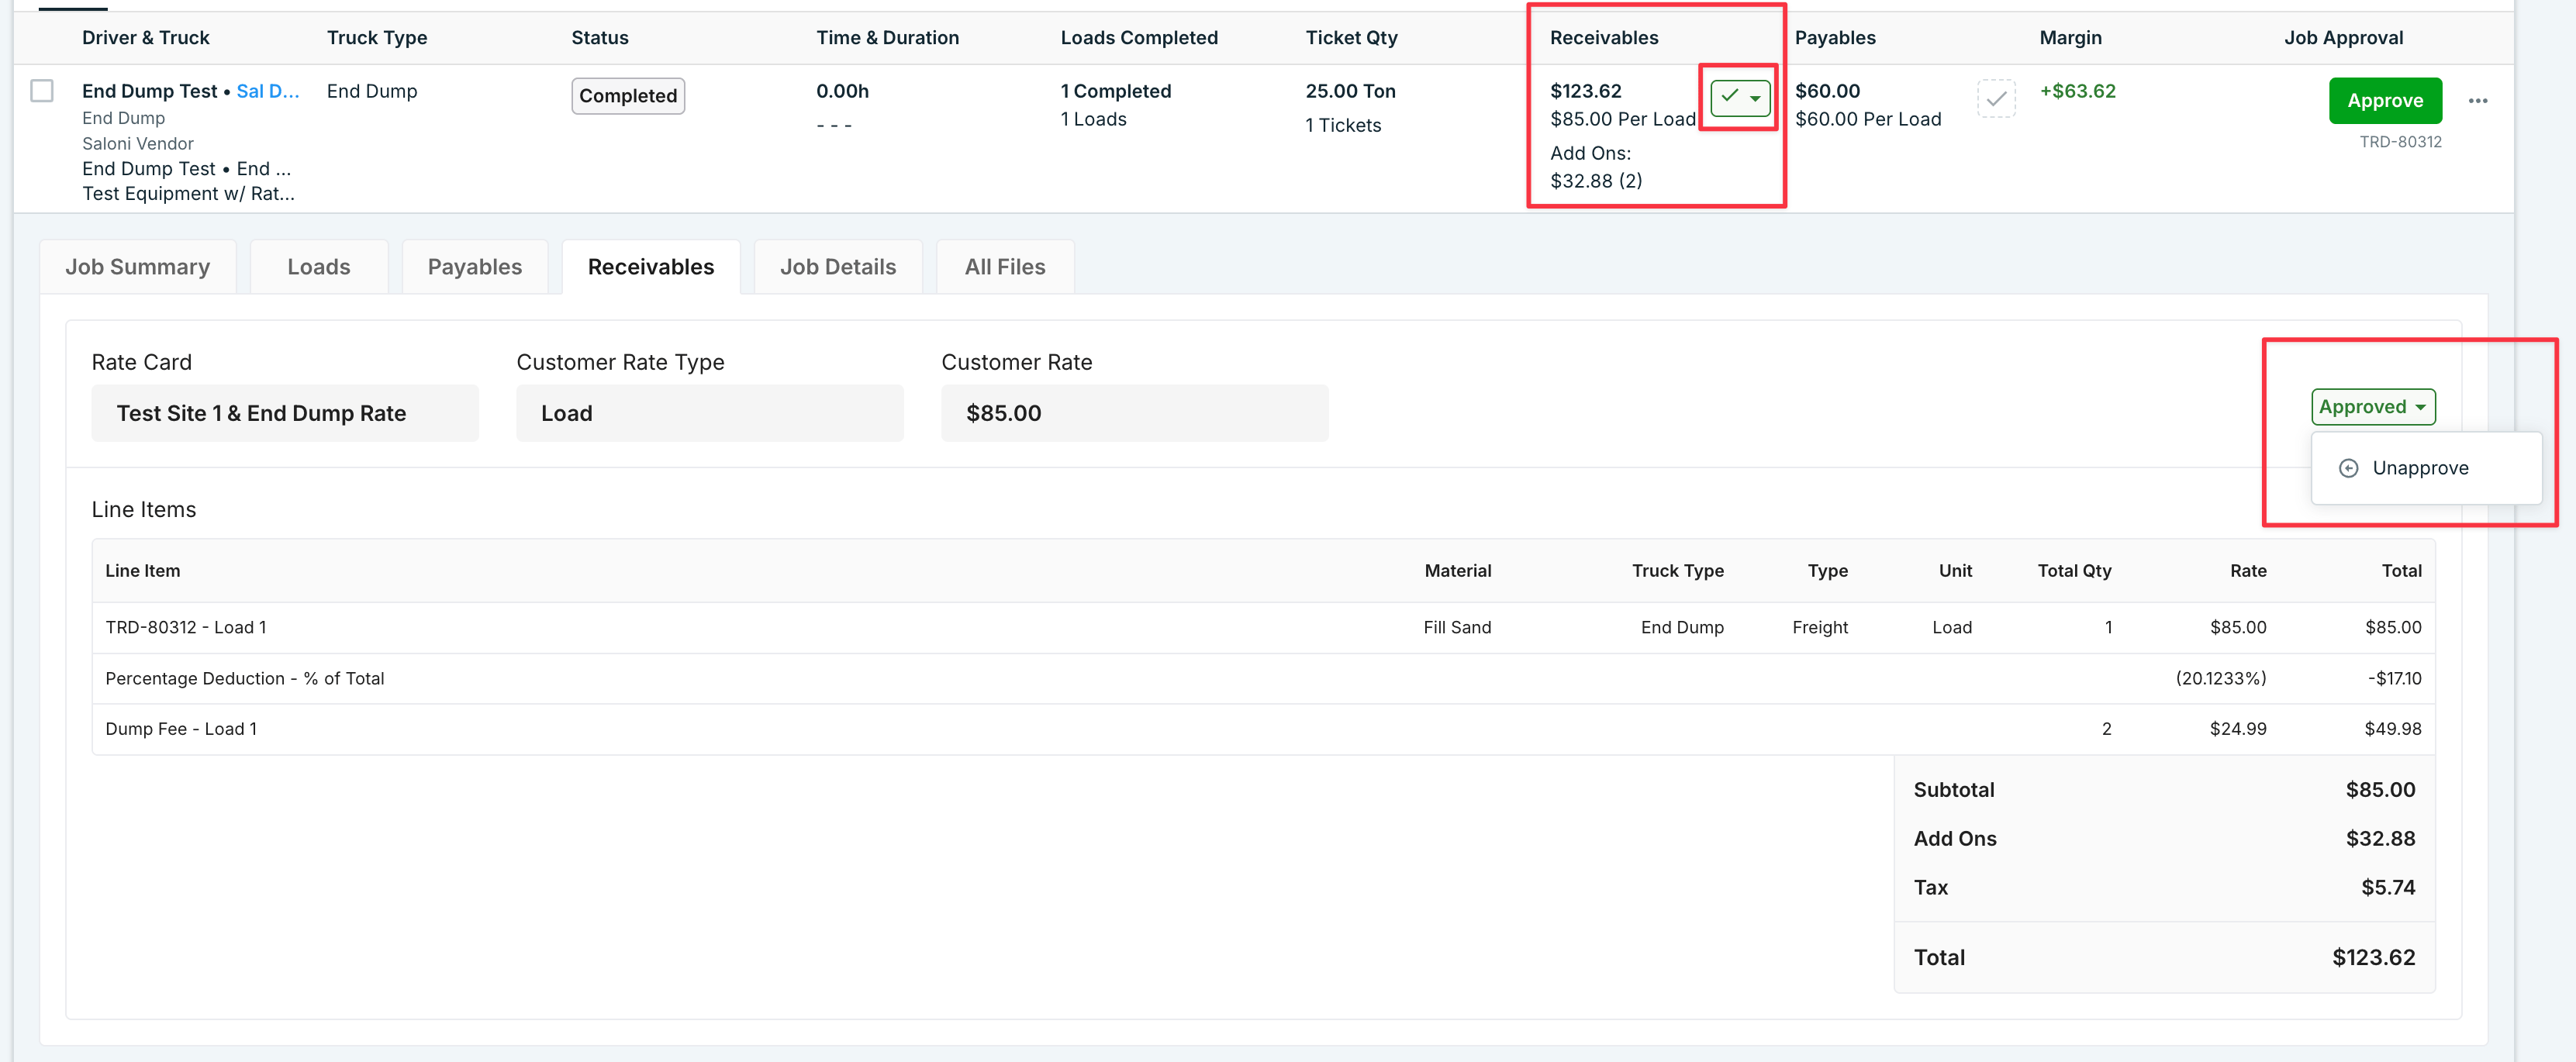
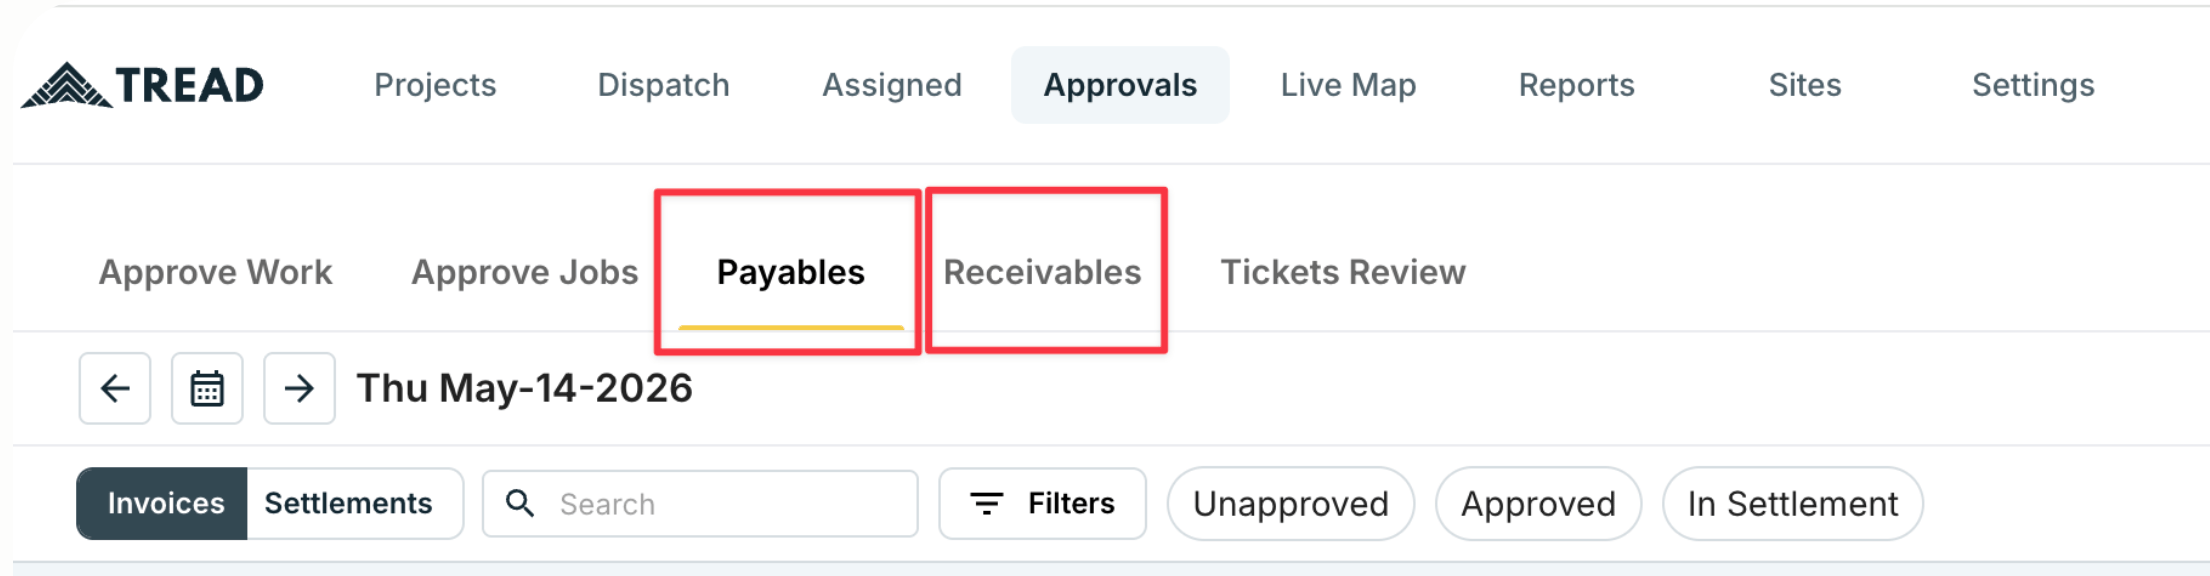
Tip — working on only Payables or only Receivables? Skip Approve Jobs and go straight to the Payables or Receivables tab under Approvals. Those tabs show the same information as Approve Jobs but scoped to just one side, with the same editing and approval controls. Changes made there sync back to Approve Jobs and vice versa
Reference: what the approval columns mean
You will see several columns. Focus on the middle two — they control payable and receivable approvals:- Payables & Receivables columns (middle): These are the ones you need to approve to move forward with settlement creation.
- Job Approval (right column): Approves the entire truck assignment and all tickets/loads beneath it. You do not need to approve this column to proceed with payables and receivables if you are only concerned with approving tickets.